 ™
™
Start
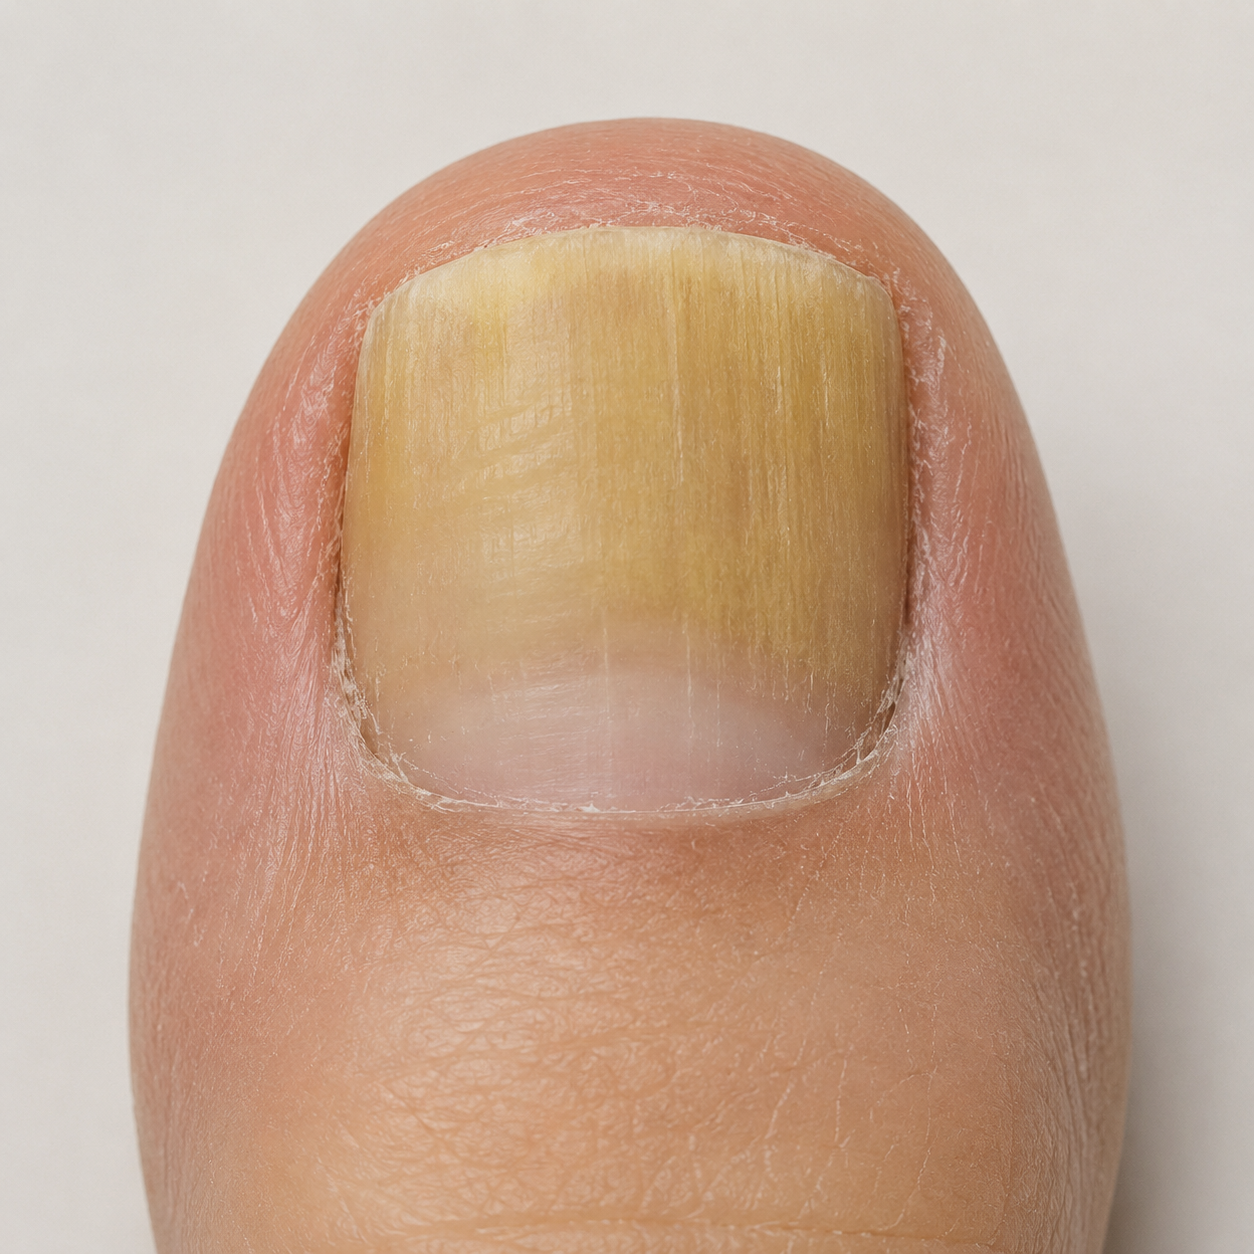
Most of the nail still appears yellowed or damaged.
Your Dermatic Routine
One thin coat, morning and night. Consistency matters more than using more product.
Usually takes less than 60 seconds
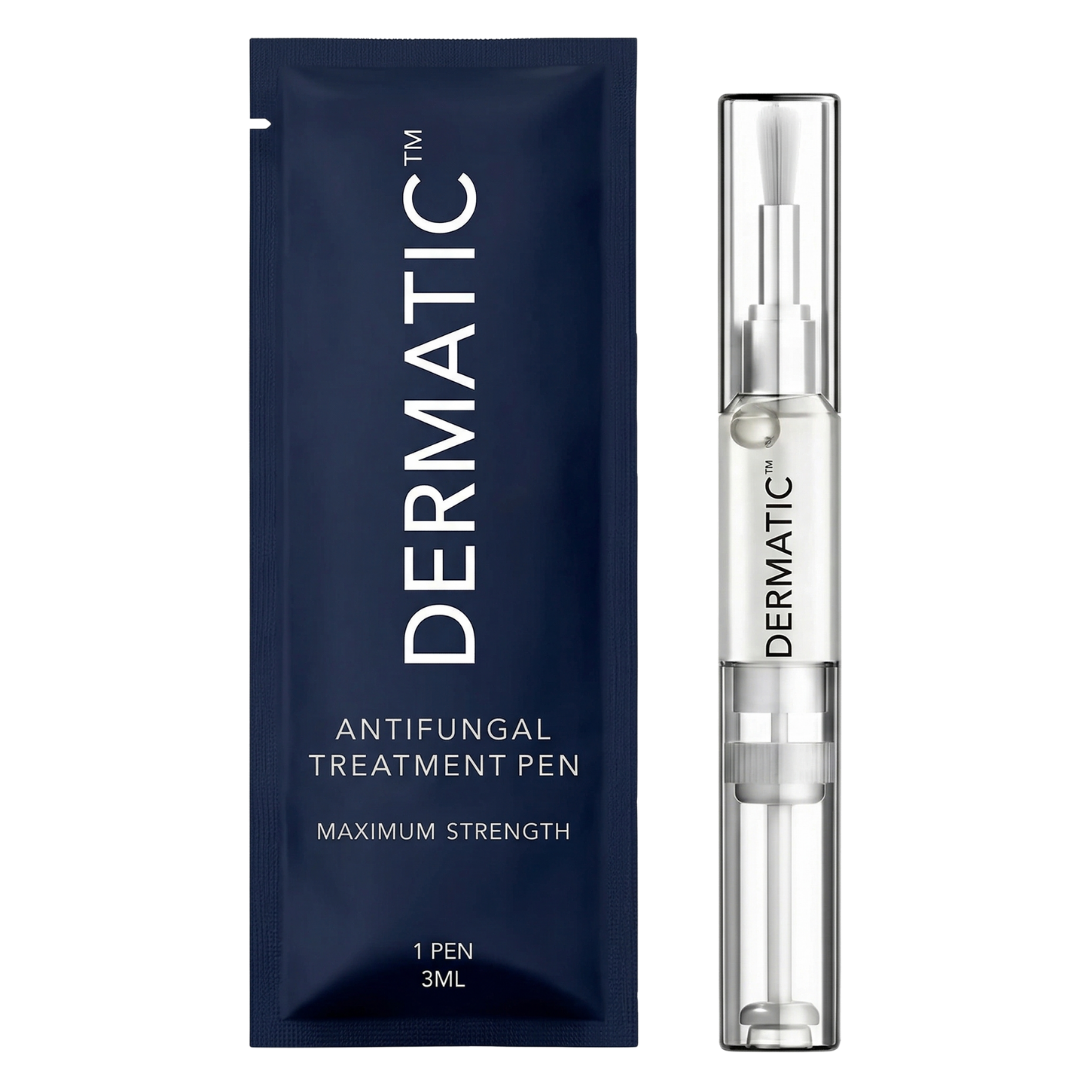
The routine
Clean and dry → lightly coat the whole affected nail → wait 30–60 seconds → repeat morning and night
Follow these steps every morning and evening.
Wash with soap and water when needed, then dry the nail and surrounding area thoroughly.
You do not need to wash the nail again if it is already clean and completely dry.
Remove the cap and hold the brush pointing downward. Twist the base slowly, one turn at a time, until the brush becomes lightly moistened.
Stop twisting as soon as product reaches the brush.
Twisting rapidly can cause too much product to dispense at once.
Lightly coat the whole affected nail, including both edges and the visible base. The nail should look lightly and evenly coated, not flooded.
Allow 30–60 seconds before putting on socks or footwear. The coating should no longer feel excessively wet. Replace the cap securely after every use.
Twice-daily use over the nail-growth period matters more than applying a large amount.
It may take several slow twists before product reaches the brush. This is normal and does not mean the pen is empty.
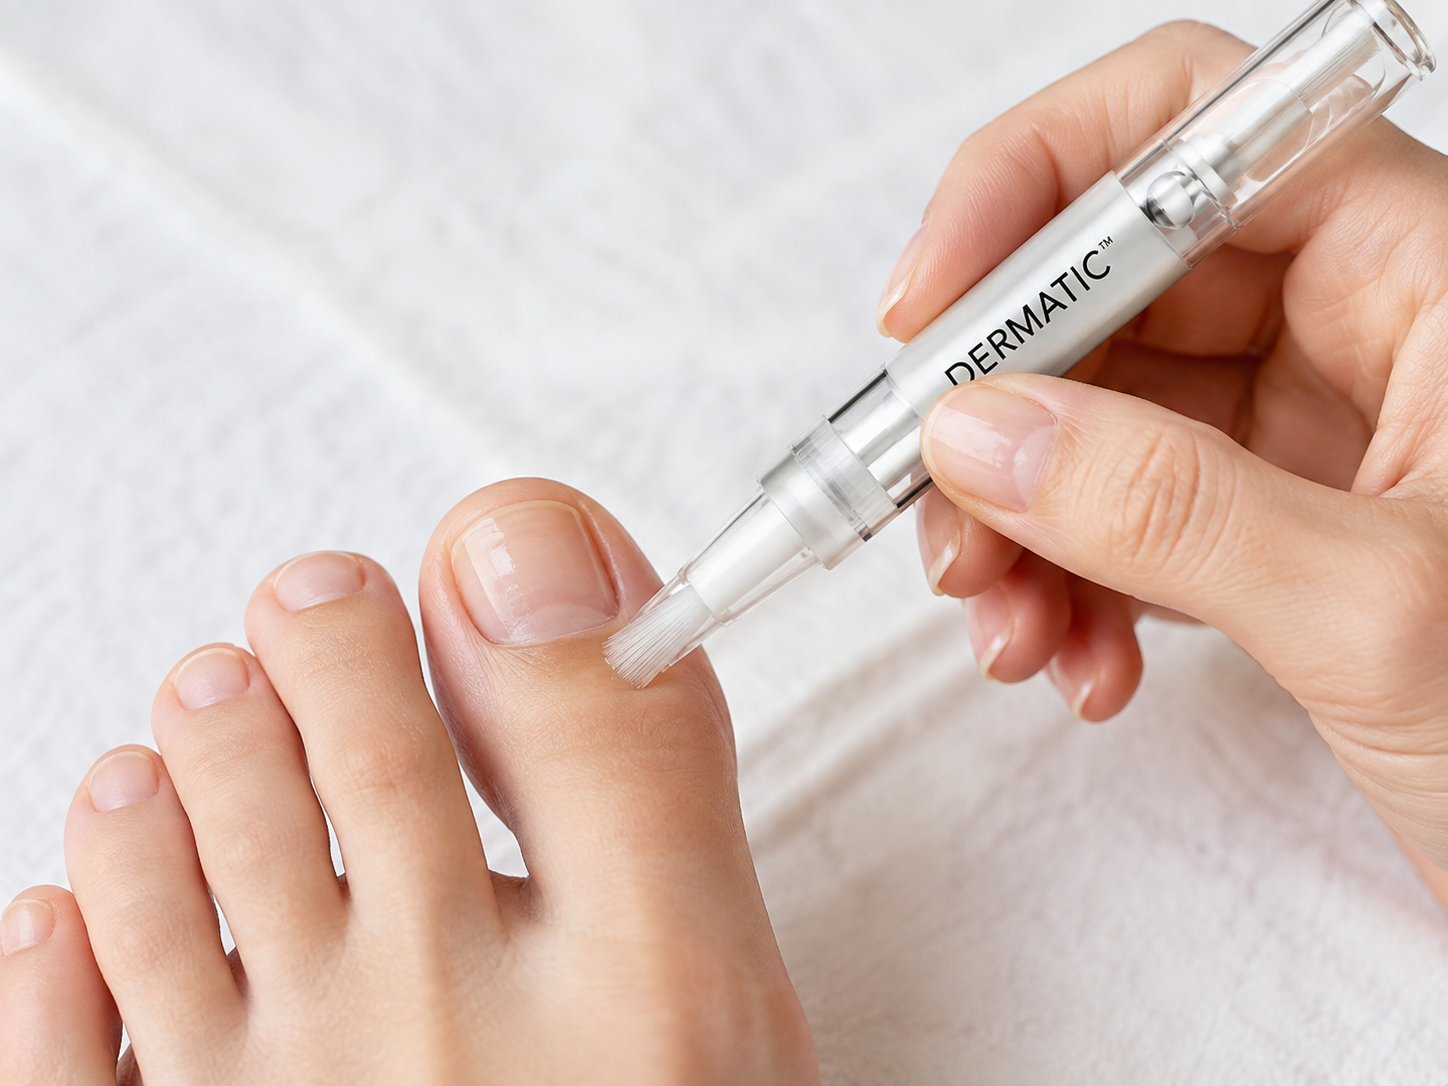
More product will not work faster. One thin coat, twice daily, is the routine.
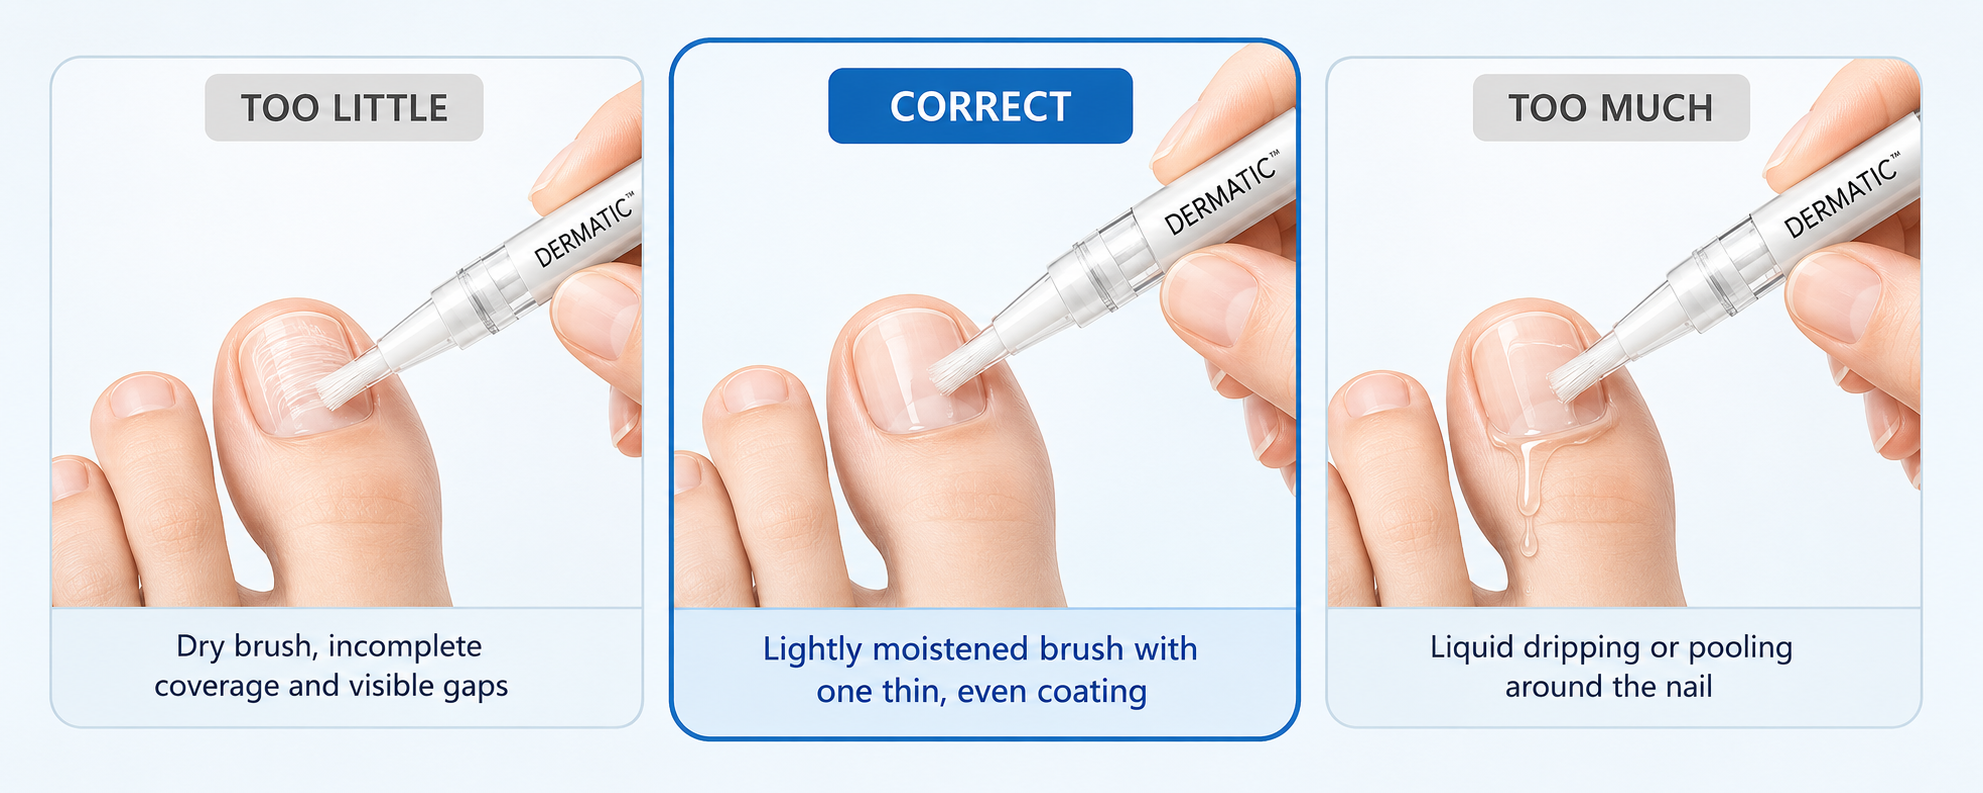
One thin coat per application is enough.
The nail should look lightly and evenly coated, not flooded.
The two most common routine mistakes are using too much and stopping too soon.
A thin layer used consistently is more important than a heavy application used irregularly.
Cover the whole affected nail, not only the visibly yellow, white or damaged area.
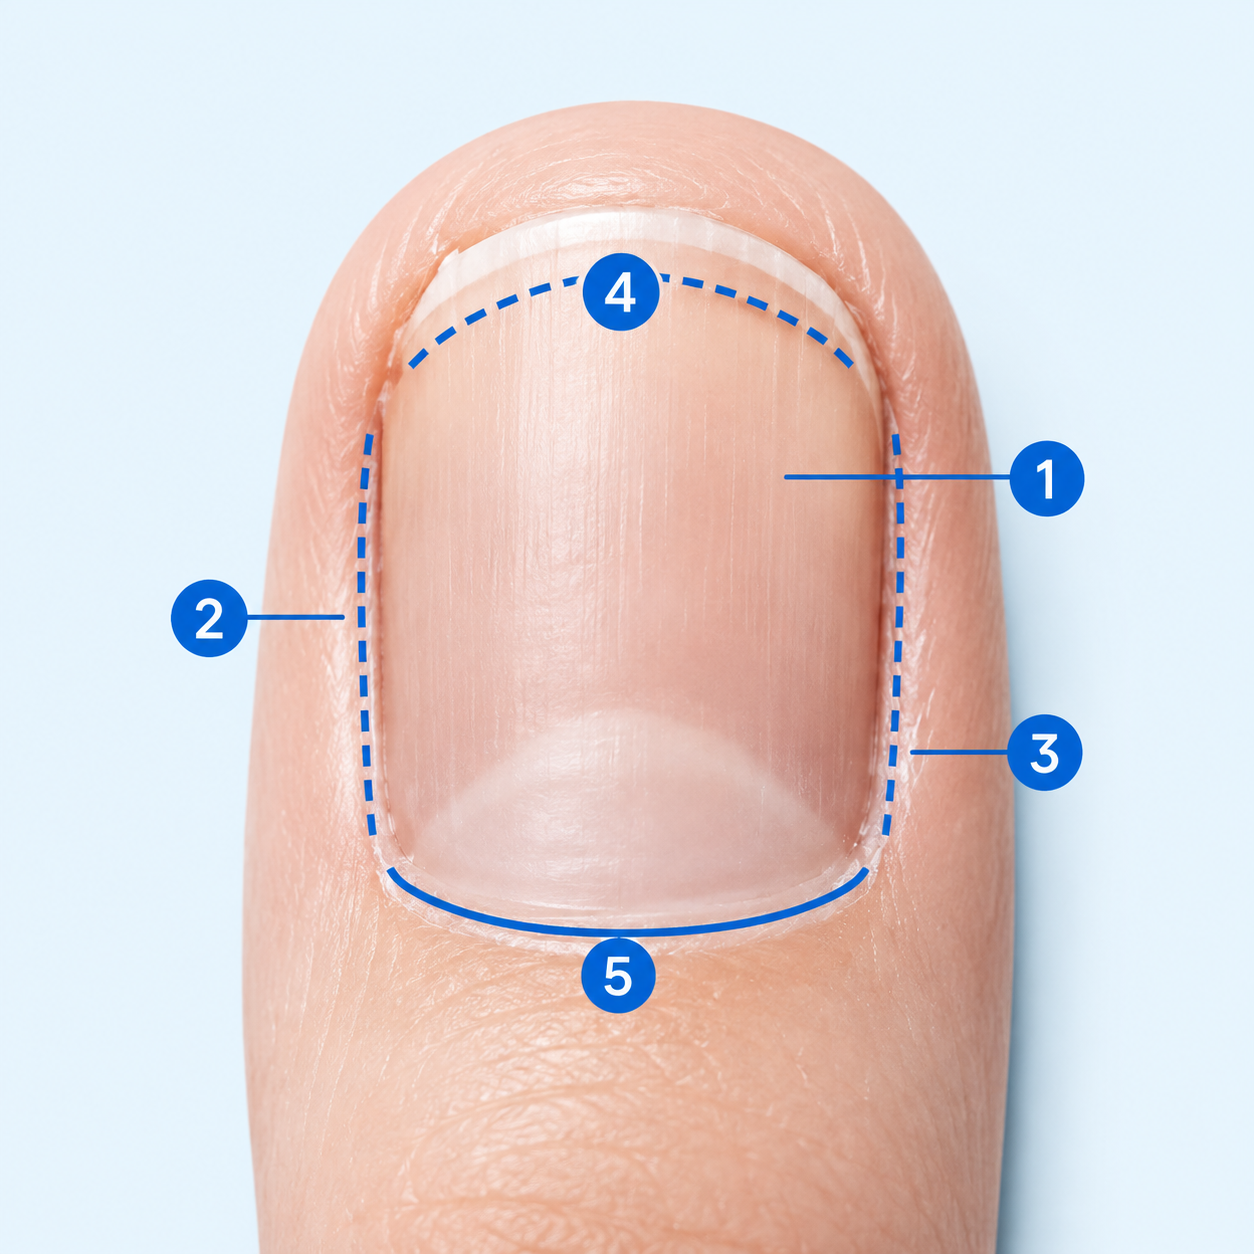
A small amount touching the immediate nail edge is acceptable, but do not intentionally coat large areas of surrounding skin.
Do not force the applicator beneath attached nail or into painful, cut, bleeding or inflamed skin.
Pen life depends mainly on the number and size of affected nails and how heavily the product is applied.
The estimate below includes a conservative allowance for priming, normal application variation and occasional over-dispensing.
Approximately 30 days when treating up to two big toenails, or equivalent, with one thin coating morning and night.
Treating additional nails uses the formula more quickly.
How many affected big toenails or thumbnails are you treating?
Counts as one nail unit each.
How many affected smaller nails are you treating?
Counts as half a nail unit each.
Count every nail you intend to treat
Select your affected nails to estimate your supply.
These are conservative planning estimates rather than exact guarantees. Actual pen life can vary with nail size, priming and application technique.
The existing damaged nail cannot instantly become new nail. Progress is usually assessed by watching for healthier-looking growth beginning near the base and gradually moving forward.
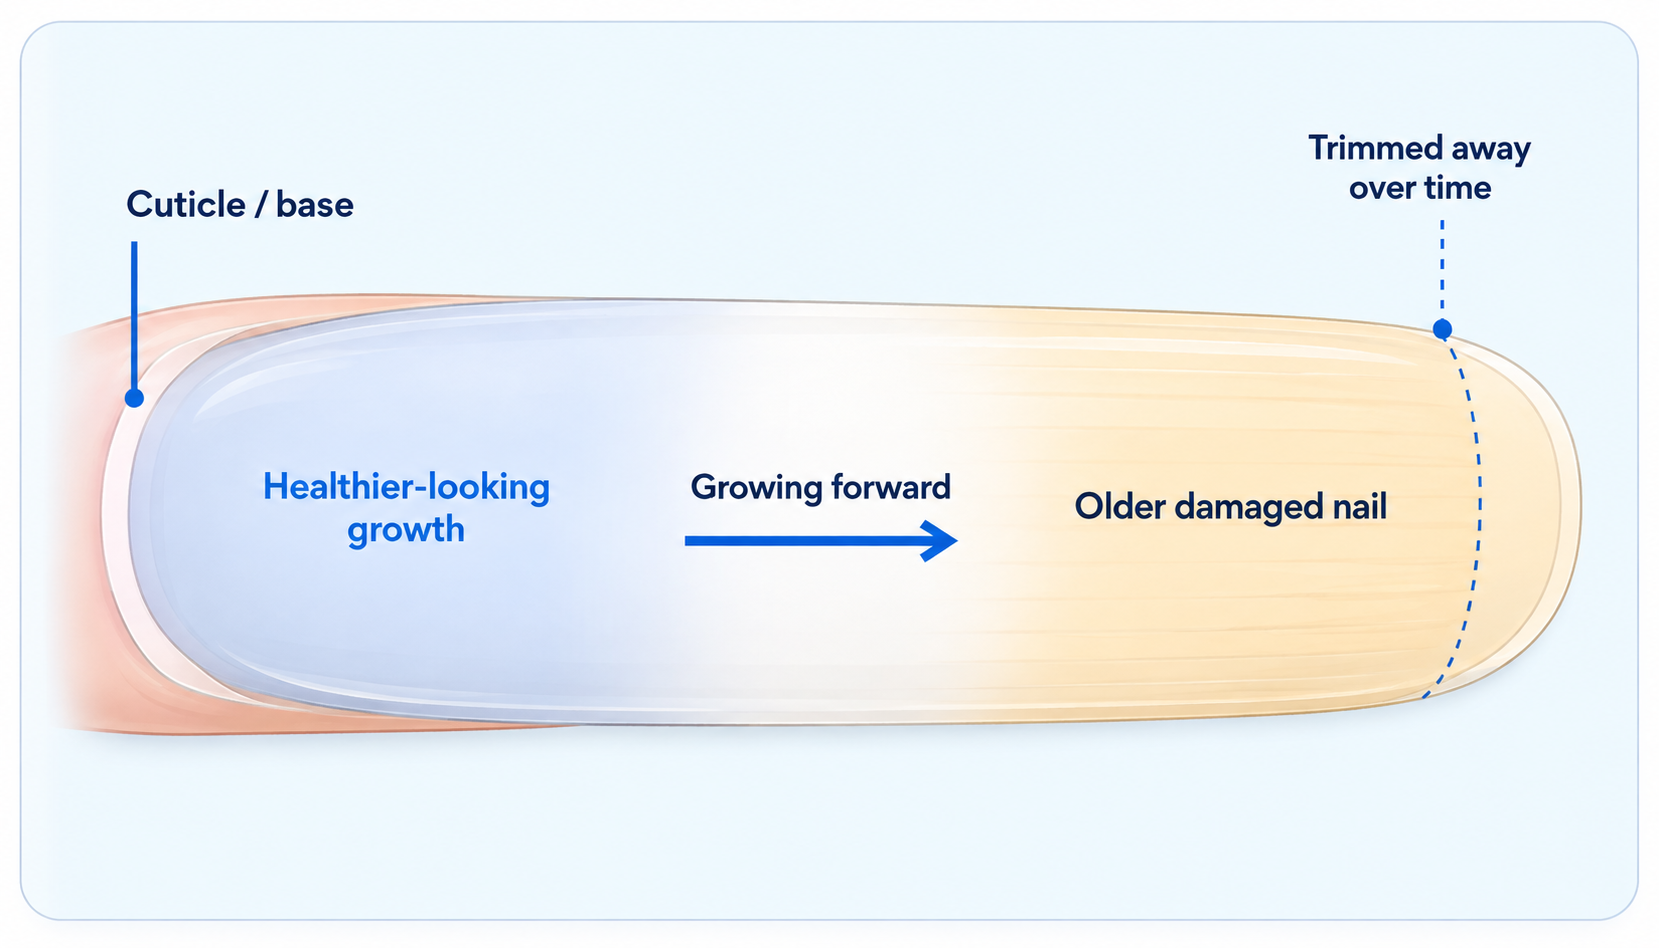
Illustrative guide only — individual progress varies.
Slow nail growth does not automatically mean the routine is failing.
The old damaged portion can remain visible while healthier-looking nail grows beneath or behind it.
Weeks 1–4
Focus on applying one thin coat every morning and evening. Major visible changes may be limited because nails grow slowly.
Months 2–3
Look for healthier-looking growth appearing near the base. Changes may be easier to notice in monthly photographs than from day to day.
Months 3–6
Continue the routine while healthier-looking nail gradually grows toward the tip and older affected nail is carefully trimmed away.
Months 6–12
More severely affected toenails may require many months to fully grow forward. Fingernails generally grow faster than toenails.
Do not stop simply because visible progress is slow or because the first small clearer-looking section appears.
Consistency over the nail-growth period matters more than applying a large amount.
If the affected nail is thickened, we strongly recommend gently reducing the excess surface thickness with an electric nail file once or twice per week.
Reducing excess thickness can make it easier to apply the formula evenly across the nail surface.
Filing is optional for nails that are not noticeably thickened, but it is strongly recommended when thickening is present.
Once or twice weekly is enough. Do not aggressively file the nail every day.
View the Dermatic Electric Nail FileSeek professional help if a nail is extremely thick, painful, ingrown or difficult to trim safely.
You do not need an extreme household cleaning routine.
Daily changes can be hard to notice. Taking a photo every four weeks makes gradual growth easier to compare.
Swipe to see the nail grow forward
Most of the nail still appears yellowed or damaged.
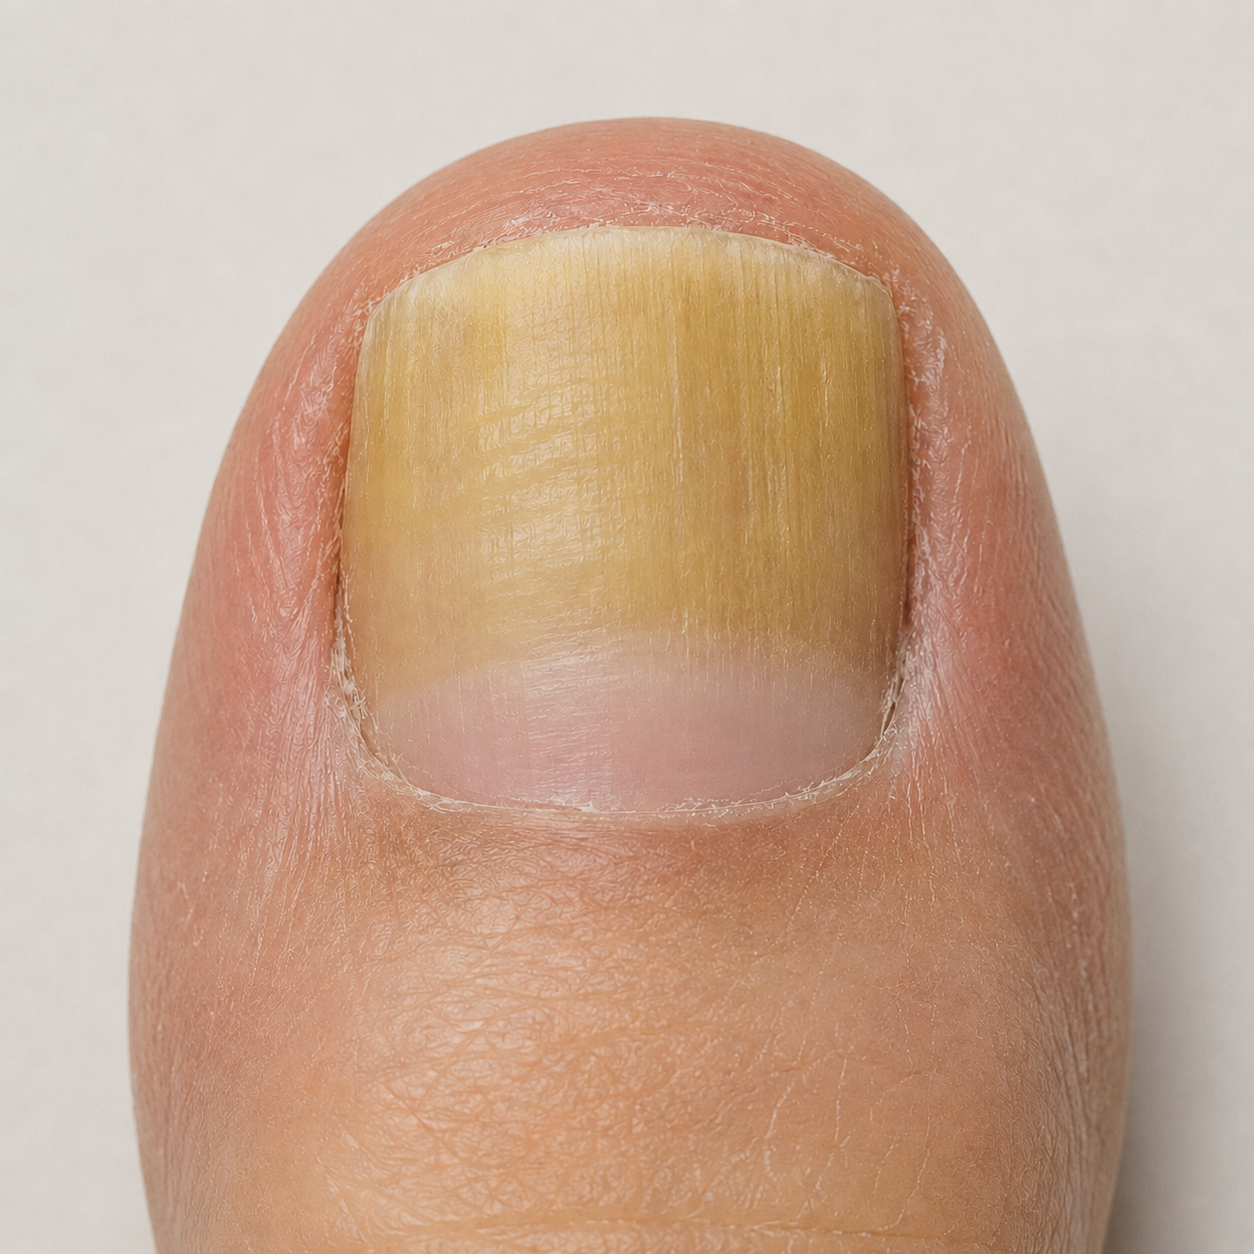
New growth begins
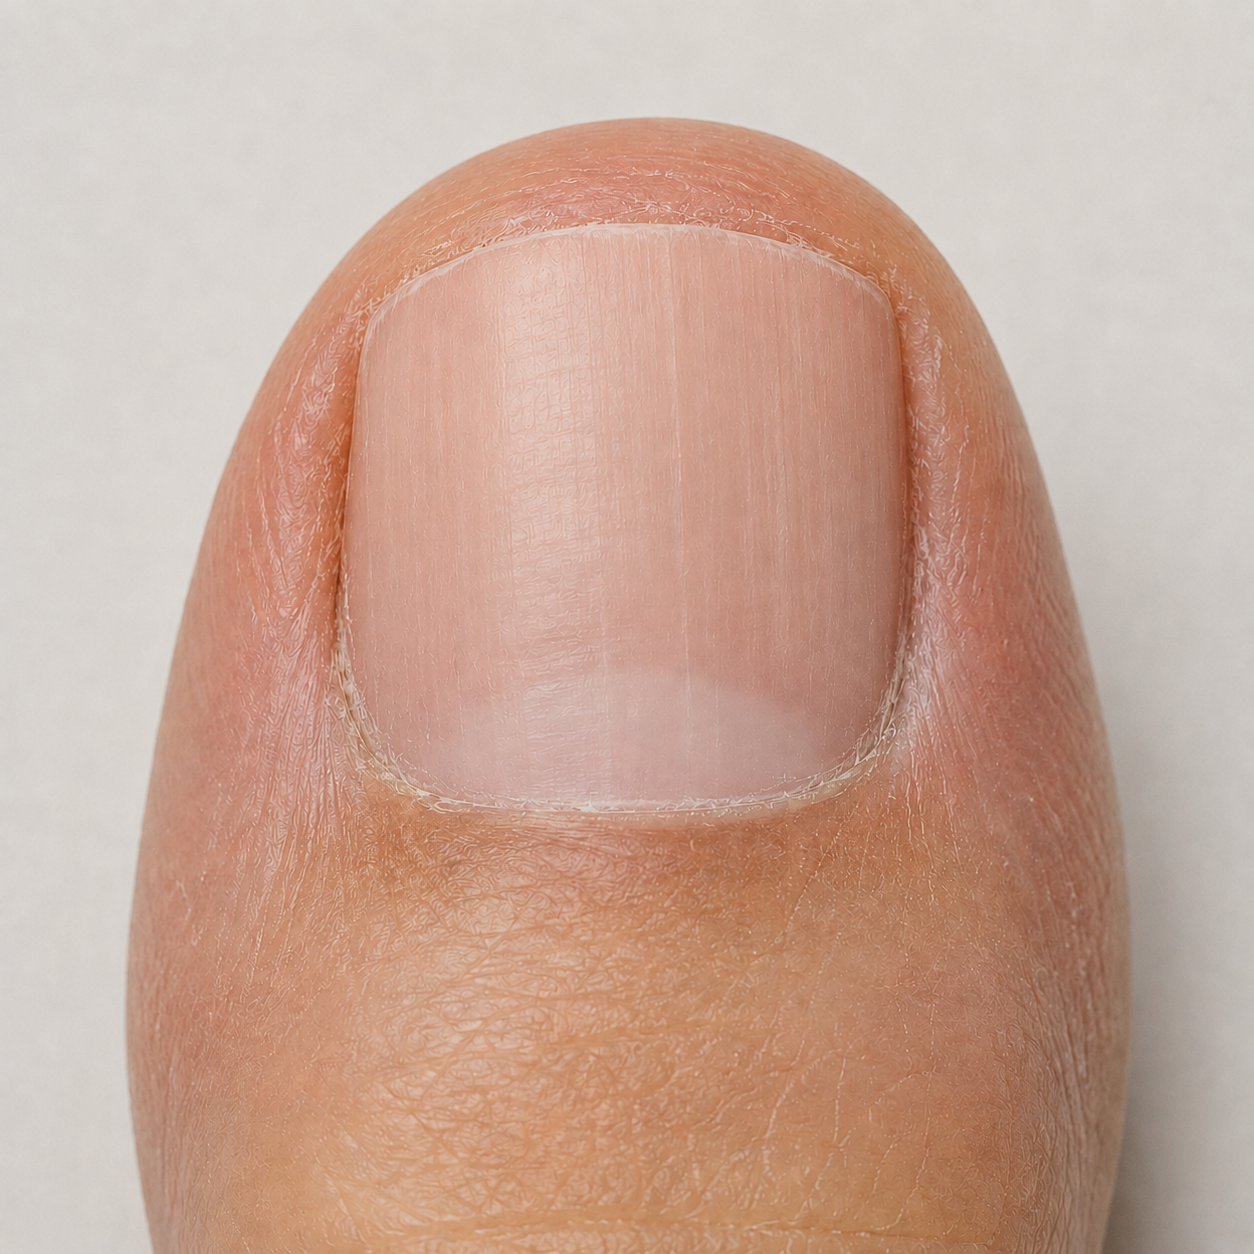
A healthier-looking band may begin appearing near the base.
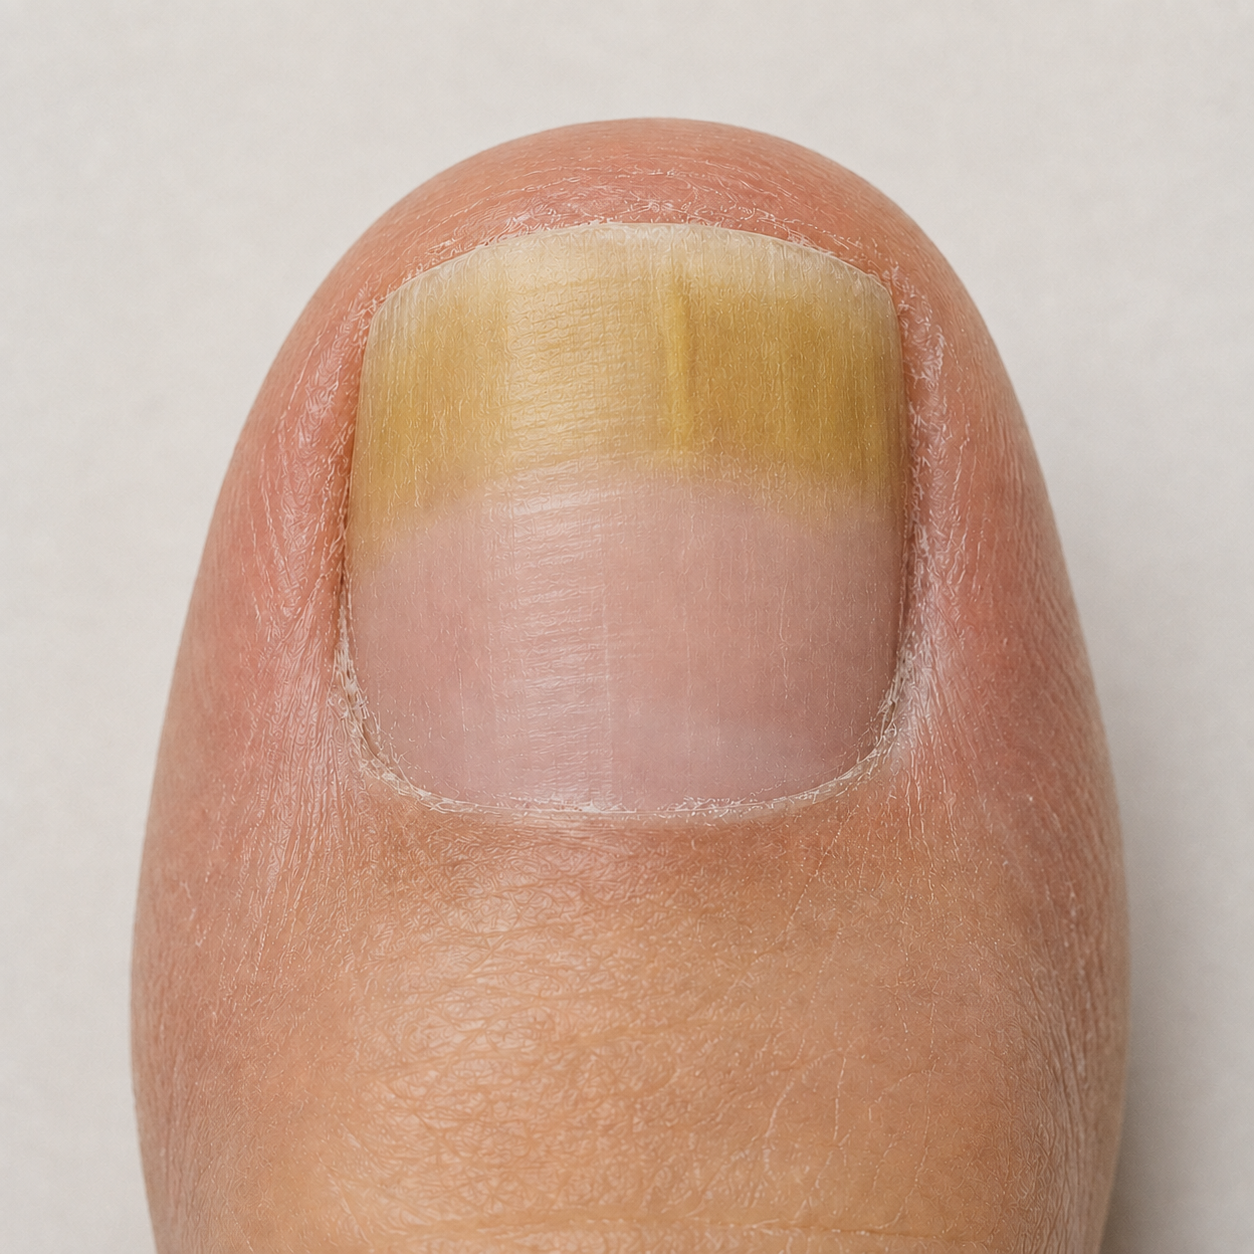
Growing forward
Healthier-looking nail may now cover more of the nail as older damage moves toward the tip.
Full grow-out
The damaged portion may be fully or almost fully grown out and trimmed away.
Start
Most of the nail still appears yellowed or damaged.
New growth begins
A healthier-looking band may begin appearing near the base.
Growing forward
Healthier-looking nail may now cover more of the nail as older damage moves toward the tip.
Full grow-out
The damaged portion may be fully or almost fully grown out and trimmed away.
Healthier-looking nail usually appears near the base first and gradually grows forward. The older yellowed or damaged section can remain visible near the tip until it is trimmed away.
Illustrative example only. Individual progress varies. Some toenails may take 12 months or longer to fully grow out.
Take your first photo before starting, then take another every four weeks.
Continue applying one thin coat morning and night while the older affected portion remains and healthier-looking nail grows forward.
Do not stop simply because a small clearer-looking section appears near the base.
Consistency throughout the nail grow-out period matters more than applying a heavy coating.
This guide supports but does not replace the directions and warnings supplied with your product.
Our support team can help with product-use and routine questions but cannot diagnose medical conditions.
Telling us roughly how long one pen lasted helps us improve our supply estimates for everyone.
Use your calculator result to plan ahead before your current pen runs out.